Make Hot Glue Gem stones with mould:
Ever since I uploaded the video showing everyone how to create Hot Glue Gems, I’ve been having people ask whether if the same method was applicable with a mould. 5 Years later, I finally found a need and desire to make another Hot Glue Gem , this time with the help of a mould.

In this blog entry, I will go through the steps of creating a Hot Glue Gem with a silicon mould. Any sort of mould (metal, ceramic etc) would work too as long as it can withstand heat and allows you to pry the end product out relatively easily.

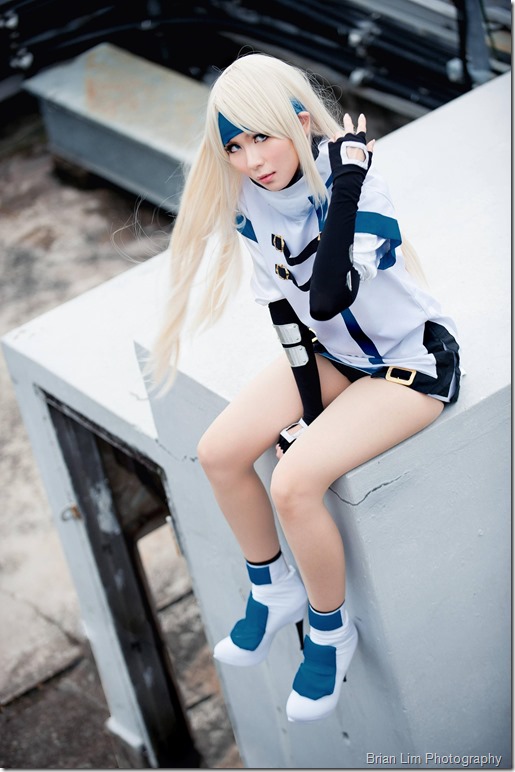
Photo by LeNekoPotato
I didn't managed to find circular gem stones that were big enough (woes be to Singaporean Cosplayers) for my Homura Akemi’s Shield and still have not stepped into the territory of creating cast resin due to the lack of motivation and money. So I fell back on my old Hot Glue gemstone method when I had to make her Shield for Best of Anime 2014 (Philippines). As luck would have it, I accidentally found the perfect silicon mound in Daiso and decided to try making hot glue gems with silicon moulds! I've been wanting to try this technique for a long while but never quite found a suitable mound. So enough crapping and onto the tutorial!
======================================================
Tools & Materials:
- Hot Glue (Hot Glue Gun is optional)
- Suitable Mould
- Colour Dye (ink, food dye, makeup pigments etc)
- Heat source (Microwave or stove top)
- Toothpick or stirrer of some sort
STEP 1: Disperse enough hot glue onto the mould directly. Either that or disperse enough hot glue for 2 gems in a microwavable ware. Mix some colouring into the melted hot glue and blend quickly. Separate the glue mixture into 2 parts and place them into each mould.

STEP 2: Heat up the glue in the mould. I used my Microwave.
You are free to use your stove or any sort of open flames however, remember to be aware of fire safety! If you intend to put this mould on top of a stove, I suggest pouring some water into a pot then placing the mould on top of a plate and a bowl; kinda like you’re steaming it.

STEP 3: Take out from heat and blend again with a disposable stirrer (Toothpick, spatula, anything you can stir with). This helps you to fix any problem you've had with the dye not blending well previously. Avoid creating too much air bubbles. If you see a lot of air pockets in the glue, reheat it again to get it into a liquid foam. Air pockets will create uneven gems.

I also found out that if I overheat the glue too much (Microwaving on High for too long), the glue bubbles over and I end up with even more air pockets. Over the stove flame should give you better control than a Microwave does.

STEP 4: Before the hot glue hardens, I quickly cover the "lid" that came with the silicon mould and wait for it to harden. The silicon mound I found was designed to make chocolate ‘Macaron’ and had this white silicon lid that create a hollow centre. Exactly what I needed to make a hollow gem that has space to fit LED bulbs! The hollowness of the hot glue gem also made it less dense thus allowing more light to pass through.

This is what the mould was supposed to make; chocolate ‘Macarons’ haha!

STEP 5: After it hardens entirely, I gently peel them out and painted over them with nail polish. Check out the awesomely smooth finishing!
The photo below shows the gems in the foreground fresh out of mould. There are still some little holes created by air pockets here but my schedule couldn’t allow me to be bothered anymore.

I couldn’t find purple dye/ink so I mixed some red and blue ink scrapped from old ballpoint pens in hope of getting purple. Alas I didn’t succeed and it came out dark magenta instead haha. So I painted over the entire gem with purple nail polish and then clear gloss polish.

Sorry for the lack of a better picture of the end product but I was working on very tight schedule then and didn’t take much WIP photographs. Hope you found this tutorial useful. Remember to leave me a comment and let me know what you think!
I also found 2 videos online that demonstrated some pretty creative ideas on working with Hot Glue. Hope you find them inspiring too!
[RtO 2013] Cosplay Update #3 (Hot Glue Gem Tutorial) by secretlyviola


Comments